Build a Tin-Can Rocket Stove in 20 Minutes
Build a tin-can rocket stove in 20 minutes: a fuel-efficient DIY camp stove that boils a litre of water on a handful of twigs, with cutting and airflow details.
Watch a video tip
Video tipA related video tip that shows the technique in motion. It won't match this guide step for step — use it for the hand positions and timing, and follow the 6 steps below for the actual build.
A rocket stove burns twigs so efficiently that a handful boils a litre of water. The design forces air through a short L-shaped combustion chamber, so the fuel burns hot and the smoke burns too. You can build one from two cans and some insulation in about twenty minutes, and it will cook for you every time the power is out.
Why this stove is worth an afternoon
It cuts fuel use to a fraction of an open fire, works with wet-ish twigs once it is hot, leaves almost no soot on your pot, and needs no gas canister you have to buy, store or run out of. For blackouts and long camps it is the most useful thing you can make from rubbish.
What you need
- A large can (family-size tomato or paint tin) and a smaller can that fits inside with a gap
- Aviation tin snips — this is the one tool worth buying rather than improvising
- Ash, perlite, vermiculite or dry sand for insulation
- A titanium or steel pot that sits stable on the top
Build it
- 01
Cut the feed port. Trace the small can low on the side of the large can and cut the hole so the small can slides in horizontally.
- 02
Make the elbow. Cut and fold tabs on the horizontal can so it joins a vertical can inside the body — that L-shape is what makes it a rocket stove rather than a tin of fire.
- 03
Add a fuel shelf. A folded strip of steel in the horizontal tube keeps sticks above the floor so air passes underneath. Skip this and the stove smokes.
- 04
Insulate the void. Pack ash, perlite or dry sand between the inner tubes and the outer can. Insulation is what keeps combustion temperature high.
- 05
Cut pot supports. Three tabs bent up from the top rim hold the pot with a gap for exhaust. No gap means no draw and no flame.
- 06
Burn it in outdoors. The first firing burns off coatings and paint. Do that away from food, then test a full boil and time it.
Getting the most out of it
- Feed thumb-thick sticks slowly, pushing them in as they burn
- Keep the fuel tunnel half empty — airflow is the fuel
- Let it fully cool before moving; the outer can gets hot enough to burn skin
- Store the insulation dry, or it will steam instead of insulate
Details most people get wrong
Common questions
How long does it last? A food-can build lasts a season of regular use. A steel paint tin or a purpose-made stove body will outlive you.
Is it safe indoors? No. It produces carbon monoxide like any wood fire. Cook outside or under open ventilation only.
When to buy instead of build
Build one first — you will understand airflow forever after. If you cook off-grid weekly, a manufactured stainless rocket stove and a good titanium pot pay for themselves quickly in fuel and frustration saved, and they are the kind of purchase you make once and stop thinking about.
Gear you need for this hack
Everything below does the job in this guide. Improvise where you can — buy where it matters.
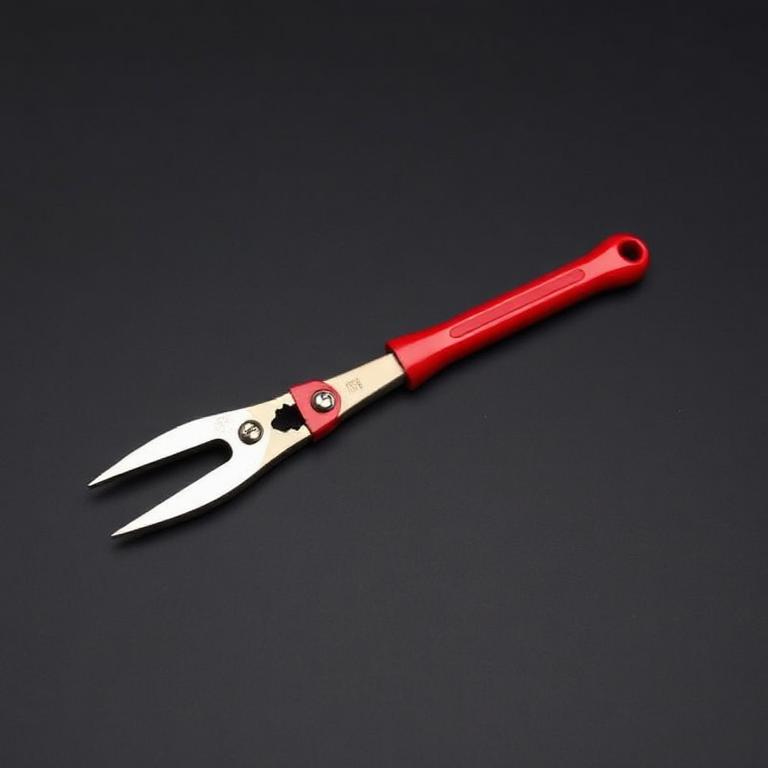
Aviation Tin Snips
The one tool this build actually requires.
Cuts clean can openings without shredding your hands. Needed for the rocket stove.
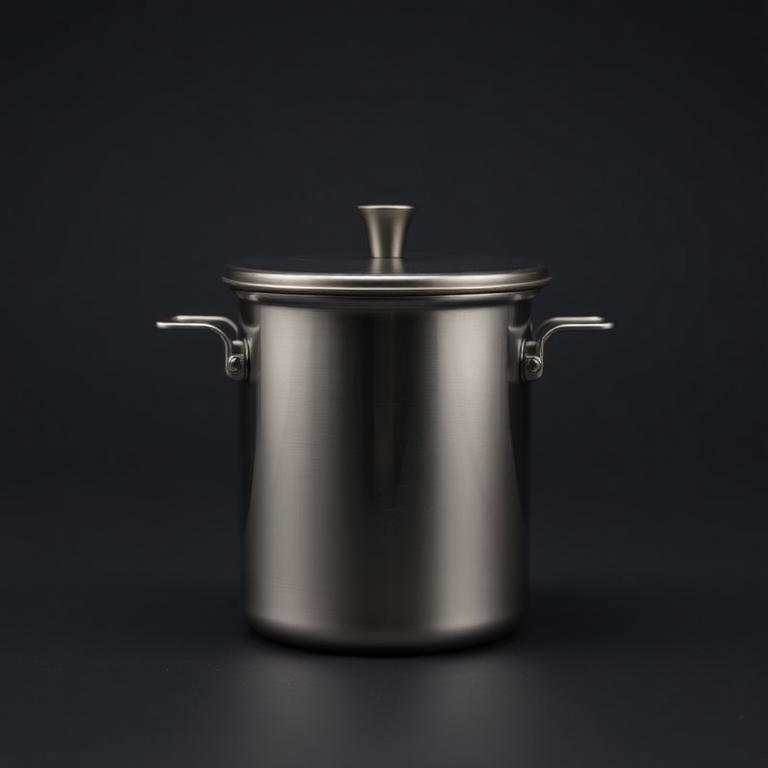
Titanium 750ml Pot
Sits stable on the stove top and takes direct flame.
Light enough to always carry, tough enough to sit straight in the coals.
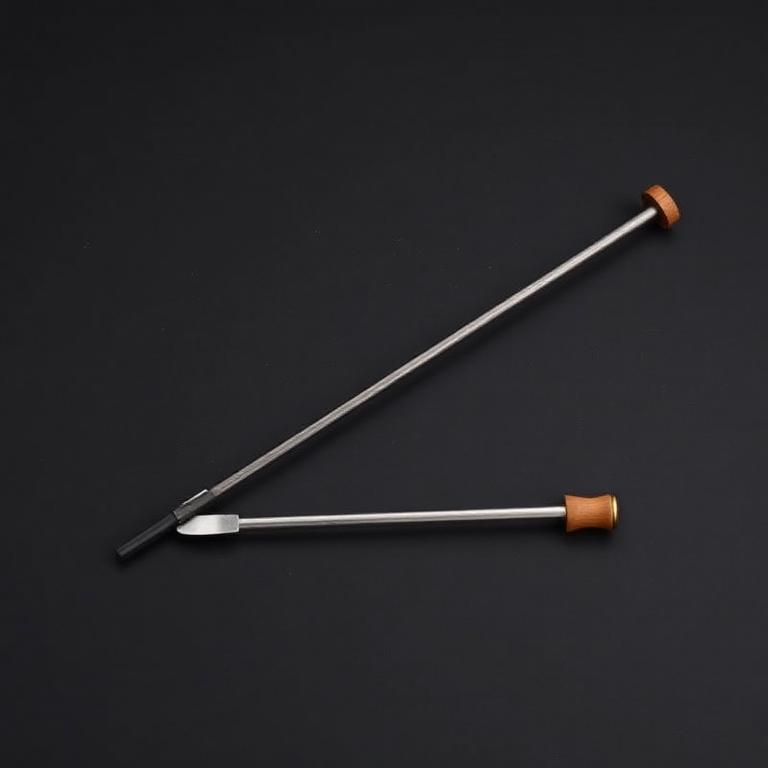
Ferrocerium Rod with Striker
Lights the stove without fuel or lighters.
Works soaked, frozen and windy. The one fire tool that does not run out or leak.
Some links are affiliate links. If you buy through them we earn a small commission at no extra cost to you — it pays for testing gear, not for good reviews.
More Fire & Cooking
One-Match Fire in Wet Weather
How to light a one-match fire in the rain: where to find dry wood after days of rain, how to build a feather-stick tinder bundle and keep the flame alive.
7 min read
Five Fast Wild Food Recipes You Can Cook Anywhere
Five fast wild food recipes for camp: nettle soup, pan trout, dandelion salad, wild mushroom fry and bannock — each under 20 minutes with one pot and one knife.
8 min read