DIY Three-Stage Gravity Water Filter
Build a DIY three-stage gravity water filter from buckets: sediment, activated carbon and a hollow-fibre element, plus when chemical purification is still required.
Watch a video tip
Video tipA related video tip that shows the technique in motion. It won't match this guide step for step — use it for the hand positions and timing, and follow the 6 steps below for the actual build.
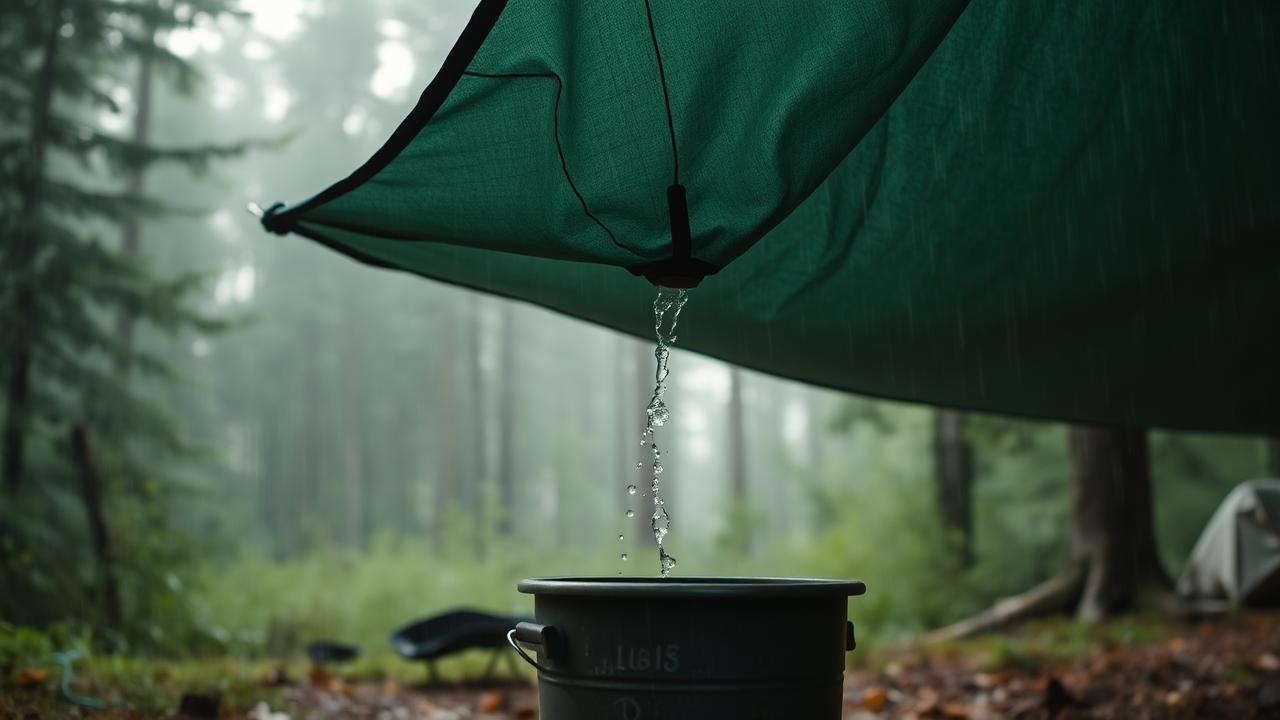
Clear water is not safe water. A three-stage gravity filter takes cloudy, tannin-stained, slightly smelly water and turns it into something you can drink all week without babysitting a pump. It runs on gravity alone, so it works during a blackout, and it treats volume — tens of litres a day, not sips.
What each stage actually does
- Stage one, sediment: cloth and gravel remove silt and leaf matter so the expensive elements do not clog in a day
- Stage two, activated carbon: removes taste, odour, tannins and many organic chemicals
- Stage three, hollow-fibre membrane: removes bacteria, protozoa and cysts down to 0.1 micron
Build it
- 01
Stack two food-grade buckets. Top bucket holds raw water, bottom holds clean. Drill the outlet in the base of the top bucket for the filter element.
- 02
Layer the pre-filter. Cloth, then washed gravel, then washed sand in the top bucket. Rinse until the runoff is clear before first use.
- 03
Add the carbon bed. Granular activated carbon in a permeable bag, sitting on the sand. Replace it every few months of regular use.
- 04
Fit the membrane element. A hollow-fibre filter with a bulkhead fitting in the base, sealed with a food-grade washer on both sides.
- 05
Add a tap to the lower bucket. Keep the clean side closed and never let raw water or unwashed hands touch it.
- 06
Test and record flow. Time a litre when new. When flow drops noticeably, backflush the element rather than replacing it.
Details most people get wrong
What this filter does not do
It does not remove viruses, dissolved salts or heavy metals. For questionable sources — flood water, downstream of farms or industry, or any water in an area with a boil notice — filter first for clarity, then treat with purification tablets or a rolling boil.
Common questions
How long do the elements last? A hollow-fibre element rated in thousands of litres will last a family season after season if it is protected by a proper sediment stage. Backflushing weekly matters more than brand.
Can I leave water in it? Empty and dry the system between uses, and never let a membrane element freeze — ice cracks the fibres invisibly and the filter fails silently.
The honest cost of clean water
The buckets are cheap. The membrane element and the carbon are where the money goes, and they are the parts standing between your household and a waterborne illness during exactly the week you cannot get to a doctor. Buying the right element once, and a strip of purification tablets to sit beside it, is the least dramatic and most valuable preparation in this whole site.
Gear you need for this hack
Everything below does the job in this guide. Improvise where you can — buy where it matters.
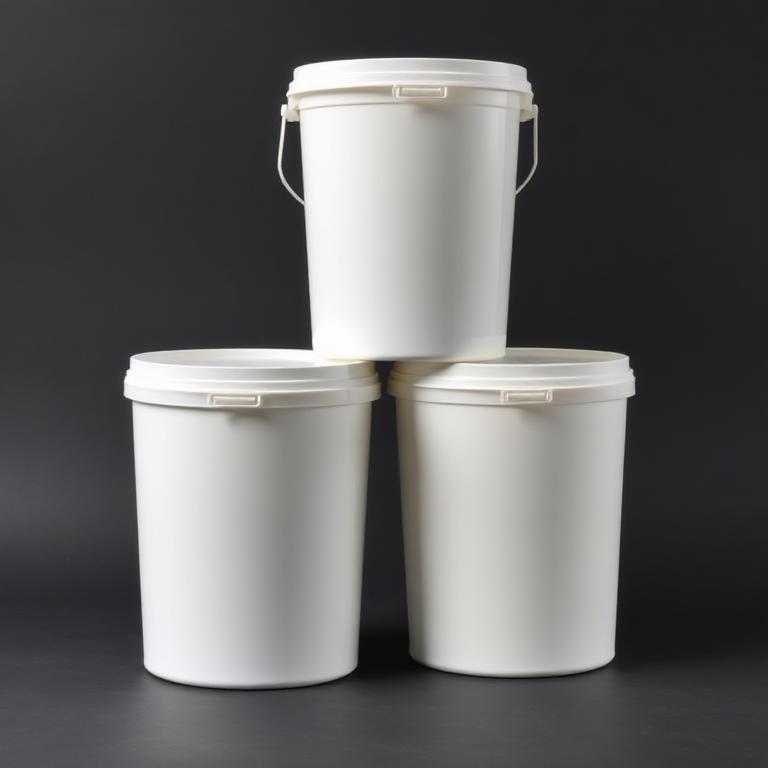
Food-Grade Buckets with Lids
The body of the filter.
20 litre food-safe buckets: the body of a gravity filter, a root cellar or a rain barrel.
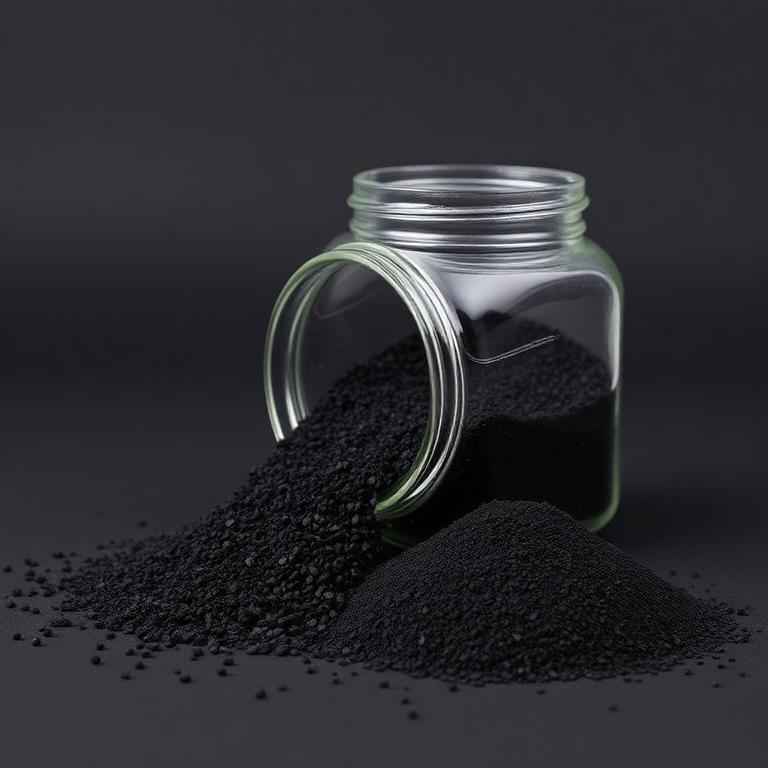
Activated Carbon (granular)
Final stage: taste, odour and chemicals.
Removes taste, odour and many chemicals in the final stage of a DIY filter.
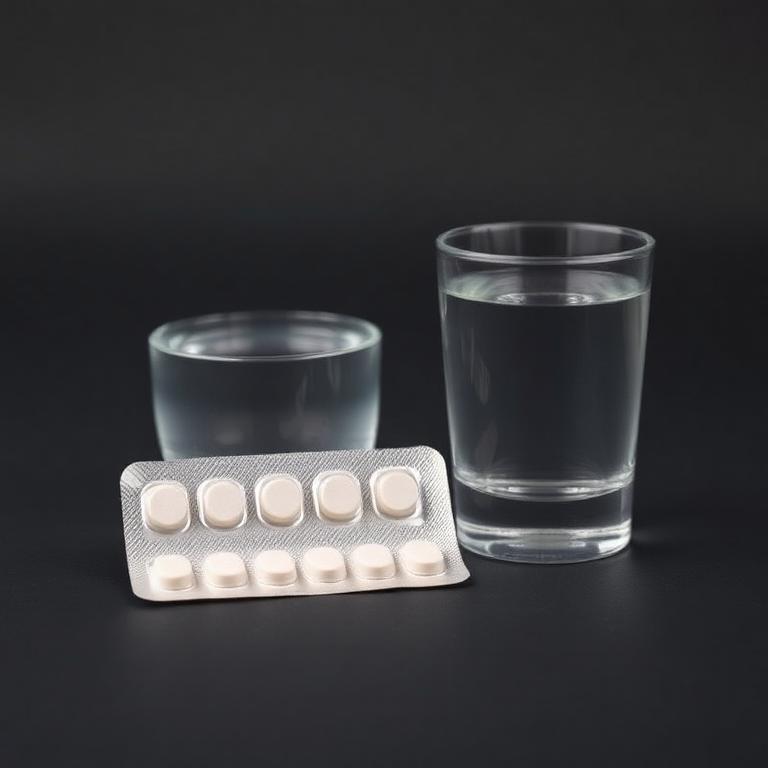
Aquatabs Purification Tablets
Aquatabs
A DIY filter does not kill viruses. This does.
Kills what a DIY filter cannot. Cheap, tiny, and the correct backup to any homemade setup.
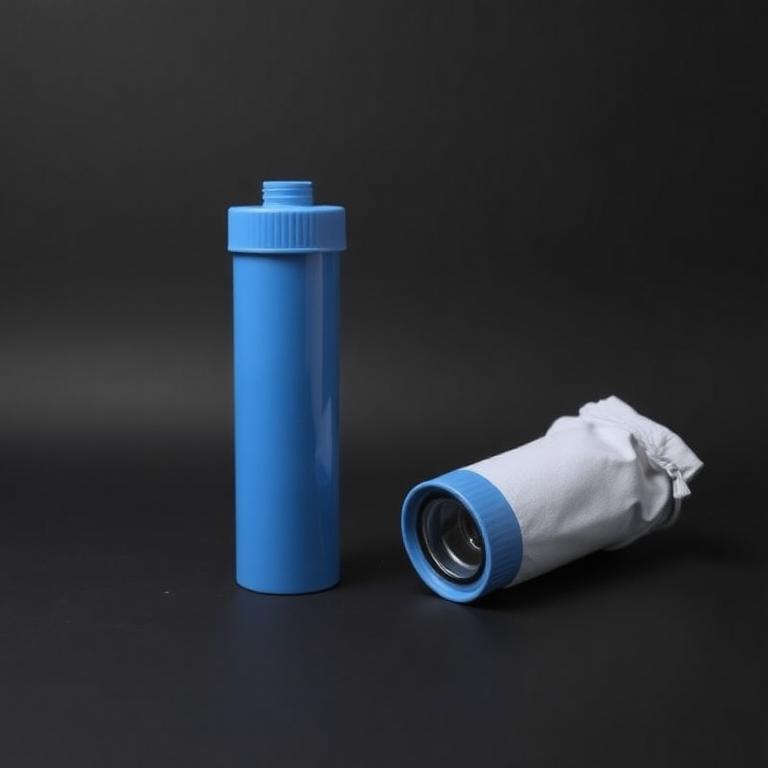
Sawyer Squeeze Water Filter
Sawyer
If you would rather buy the proven version.
0.1 micron hollow-fibre filter rated for 100,000 litres. Backflush it and it lasts for years.
Some links are affiliate links. If you buy through them we earn a small commission at no extra cost to you — it pays for testing gear, not for good reviews.