Five Tarp Configurations Worth Memorising
Five tarp shelter configurations: A-frame, lean-to, storm wedge, diamond fly and plow point — when to use each, how to pitch it and how to stop condensation.
How it works, step by step
A-frame
A-frame. Ridgeline between two trees, both sides pegged out. Two minutes, sheds rain from any direction, poor in side wind. The default.
A tarp is the highest ratio of shelter to weight you can carry. One three-by-three square, some cord and a handful of pegs covers everything from a shaded lunch stop to a night in driving sleet — but only if you know which shape to pitch. These five cover almost every situation you will actually meet.
Read the weather first
Wind direction decides the shape. Rain decides the pitch angle. Temperature decides how much you close it down. Pitch the low side into the wind, always, and never pitch under standing deadwood.
The five configurations
- 01
A-frame. Ridgeline between two trees, both sides pegged out. Two minutes, sheds rain from any direction, poor in side wind. The default.
- 02
Lean-to. One high edge, one pegged to the ground, open face towards a fire. Best for warmth and cooking; useless if the wind swings.
- 03
Storm wedge. A-frame with one end pegged to the ground, forming a closed wedge. The strongest pitch in real weather and the one to practise before you need it.
- 04
Diamond fly. Tarp hung on a diagonal from a single point, corners pegged. Light, fast, good for hammocks and slopes.
- 05
Plow point. One corner high on a tree, opposite corners staked wide. A one-tree, one-minute shelter for sudden rain.
Details most people get wrong
Pitching details that matter more than the shape
- Tension the ridgeline hard; a slack ridge sags, pools and drips
- Add a drip line — a short length of cord tied to the ridgeline outside the shelter stops water tracking in
- Pitch high in cold weather for airflow, low in wind to shed it
- An insulated sleeping pad matters more than the tarp; you lose far more heat to the ground than to the air
Common questions
Tarp or tent? A tarp is lighter, more versatile and better ventilated. A tent is better in insects, blowing snow and for anyone who wants zero decisions at the end of a long day. Many people carry a tarp and own a tent.
What size? Three by three metres is the sweet spot for one or two people. Smaller forces compromises; larger gets heavy and flaps.
Practise once, own it forever
Pitch all five in your garden on a windy afternoon. It takes an hour and it means you will never stand in the rain deciding. A quality tarp, thirty metres of paracord and a decent insulated pad is a modest, one-off kit that quietly removes the worst outcome from every trip you take — and that is what makes it worth owning rather than borrowing.
Gear you need for this hack
Everything below does the job in this guide. Improvise where you can — buy where it matters.
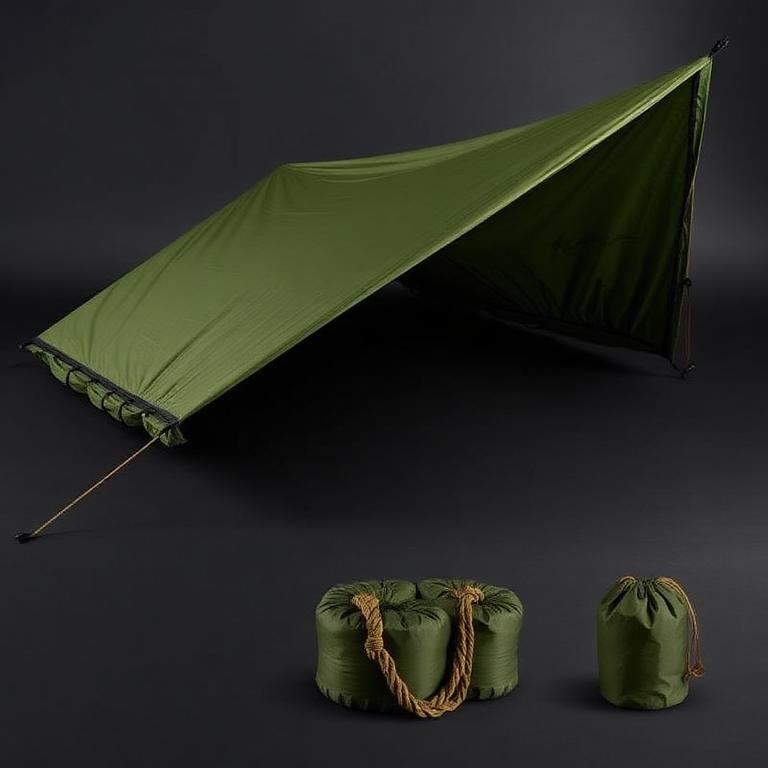
DD Hammocks 3x3 Tarp
DD Hammocks
19 tie-out points cover every configuration here.
19 tie-out points, so every configuration in the tarp guide is possible.
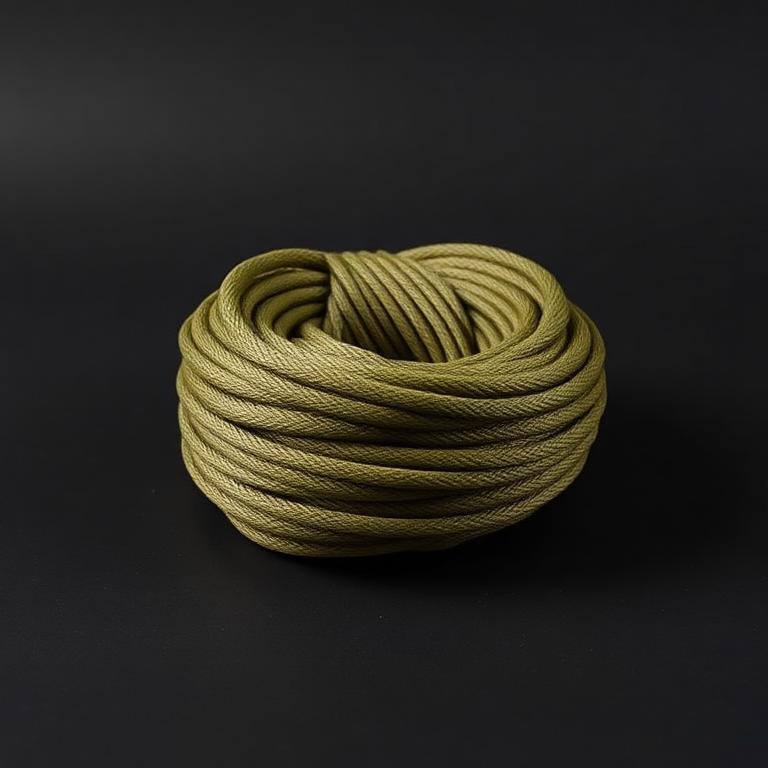
550 Paracord, 30m
Ridgeline and guylines.
Ridgelines, guylines, lashings and repairs. Buy real 7-strand cord.
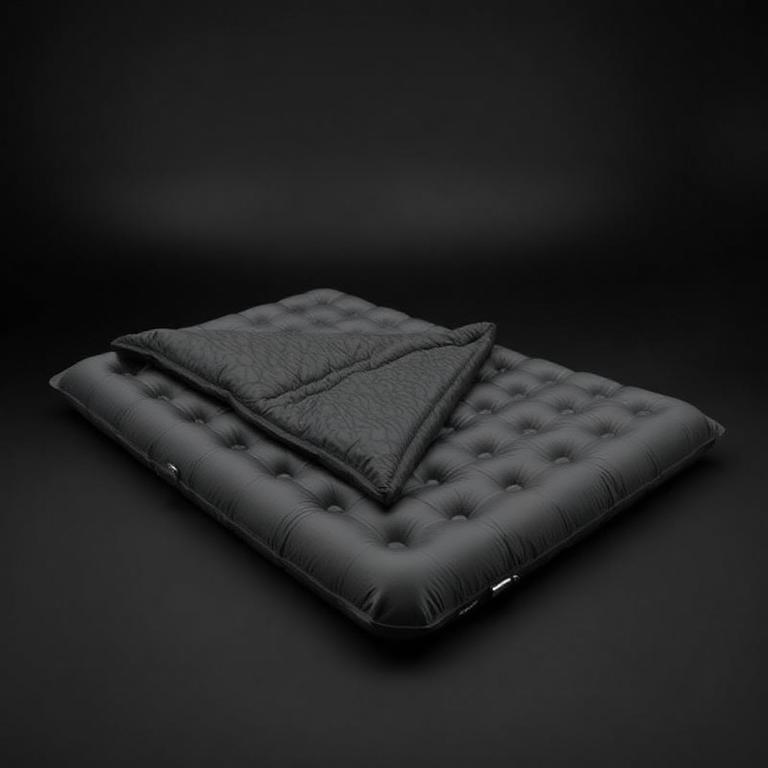
Insulated Sleeping Pad (R-value 4+)
Ground insulation matters more than the roof.
Ground steals more heat than air. R-value 4 or higher for cold nights.
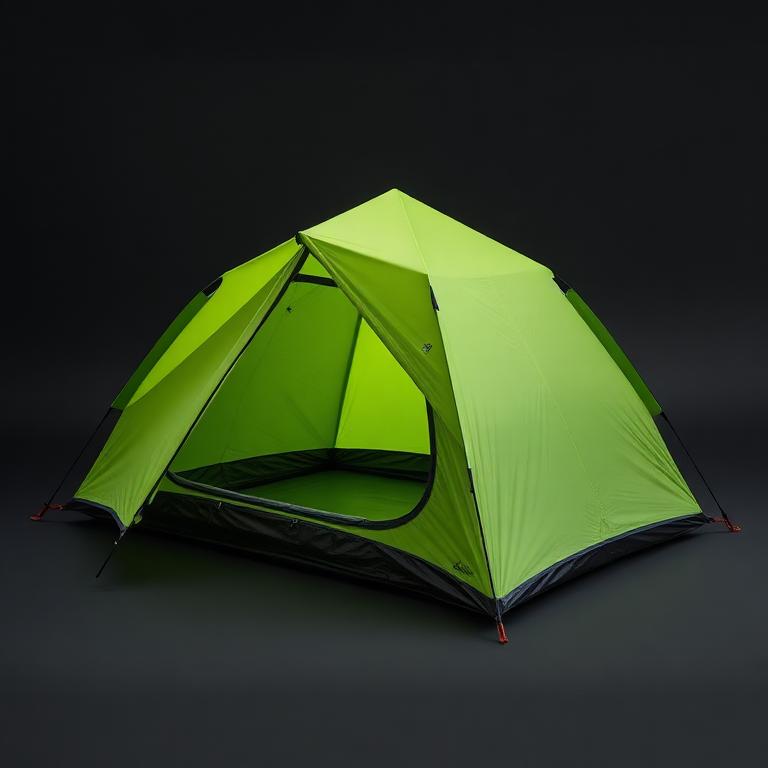
3-Season Backpacking Tent
When the weather is past tarp territory.
When the weather is genuinely bad, a real tent beats a clever tarp rig.
Some links are affiliate links. If you buy through them we earn a small commission at no extra cost to you — it pays for testing gear, not for good reviews.