The Emergency Debris Hut
How to build an emergency debris hut: sizing the frame, how thick the leaf litter must be, and why insulation under you matters more than the roof.
How it works, step by step
Find the ridge pole
Find the ridge pole. One sturdy pole about a metre longer than your height. Prop one end on a stump, rock or forked tree at hip height.
A debris hut is the shelter you build when you have nothing: no tarp, no bag, and a temperature that is falling. It is a small insulated cocoon made of dead leaves, and built properly it will keep a person alive through a night near freezing. Built carelessly, it will not. The difference is thickness and size.
The principle
You are not building a house, you are building a coat. The hut must be barely bigger than your body, because your body is the only heat source. Every extra litre of air inside is a litre you have to warm all night.
Build it
- 01
Find the ridge pole. One sturdy pole about a metre longer than your height. Prop one end on a stump, rock or forked tree at hip height.
- 02
Rib the frame. Lean sticks against the ridge pole on both sides at roughly 45 degrees, close enough that leaves cannot fall through, leaving one small entrance.
- 03
Add a lattice. Fine brush over the ribs so the debris layer has something to sit on.
- 04
Pile debris a metre thick. This is where people fail. Dry leaves, ferns and grass, an arm's depth all over. Compressed leaves lose most of their loft.
- 05
Stuff the inside. Fill the whole interior with dry leaves and burrow into them. Insulation beneath you is worth more than everything above you.
- 06
Plug the door. A pack, a bundle of brush or more debris, pulled in behind you.
Details most people get wrong
What decides whether it works
- Interior size — coffin-tight, not roomy
- Debris depth — a metre uncompressed, more if it is damp
- Ground insulation — at least 20 cm of leaves under your body
- Build time — start two hours before dark, always
Common questions
How long does it take? Two to three hours for a first-timer. That is the real reason to build one on a training day rather than learning on the night you need it.
Will I sleep? Probably not well. It is a survival shelter, not a bed. It buys you a night, and a night is what you need.
The lighter answer you can carry
A debris hut is a skill worth having and hoping never to use. A reflective emergency bivvy weighs under 200 grams, costs less than a takeaway, and does most of the same job in five minutes. Carrying one, plus a small saw and a length of paracord, is not gear for its own sake — it is the smallest possible investment in not spending a cold night learning this the hard way.
Gear you need for this hack
Everything below does the job in this guide. Improvise where you can — buy where it matters.
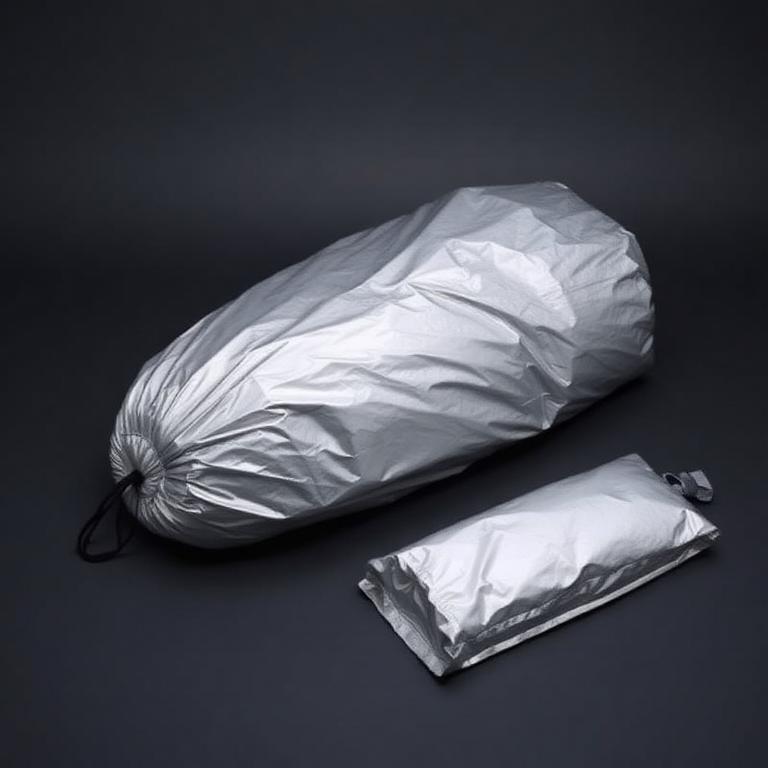
Reflective Emergency Bivvy
SOL
200g of insurance if the hut is not enough.
200g of insurance in the debris hut, the car and the day pack.
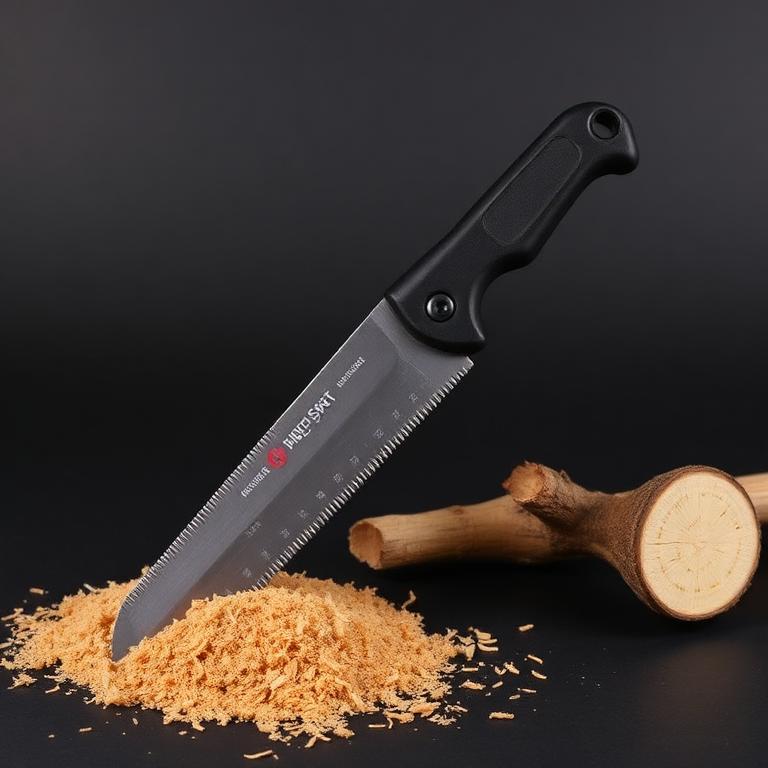
Silky PocketBoy Folding Saw
Silky
Cuts the ridgepole and ribbing quickly.
Cuts firewood faster and safer than batoning. Pairs with any fixed-blade knife.
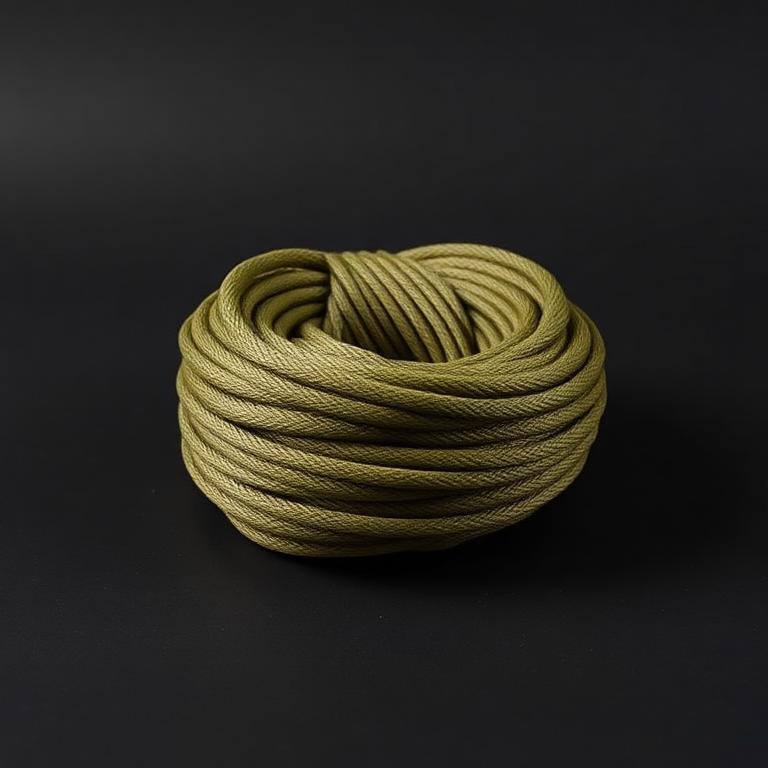
550 Paracord, 30m
Lashes the frame together.
Ridgelines, guylines, lashings and repairs. Buy real 7-strand cord.
Some links are affiliate links. If you buy through them we earn a small commission at no extra cost to you — it pays for testing gear, not for good reviews.