Carve a Try-Stick to Master Your Knife
Carve a try-stick to learn every bushcraft knife cut: the seven notches, the grips that keep your hands safe and how to practise them in one evening.
Watch a video tip
Video tipA related video tip that shows the technique in motion. It won't match this guide step for step — use it for the hand positions and timing, and follow the 6 steps below for the actual build.
The try-stick is the single best carving exercise in bushcraft. It is one stick with seven notches cut into it, and between them they contain almost every cut you will ever make in the field — pot hangers, trap triggers, tent pegs, spoon blanks, friction-fire kit. Cut one and your knife control improves in an evening.
Why one stick teaches so much
Each notch trains a different combination of blade angle, grip and stop cut. Practising them on a single piece of wood means you fail cheaply, in daylight, at home — instead of in the woods with cold hands and a job that needs doing.
Choose the wood and the grips
Use dry, straight, knot-free hardwood about wrist-thick and forearm-long. Birch, hazel and maple all carve cleanly. Learn three grips before you start: the chest lever for power, the thumb push for control, and the forehand pull with a locked wrist for long cuts. Every finger stays behind the edge, always.
The seven notches
- 01
Latch. A square-shouldered notch that holds a crosspiece. Master stop cuts here — cut the shoulders first, then remove waste towards them.
- 02
Pot hook. A hook that carries weight without splitting out. Teaches grain reading; cut with the grain running into the hook, not out of it.
- 03
V-notch. The base of every trap trigger and cordage anchor. Two clean angled cuts meeting at a point, no sawing.
- 04
Bevel. A long flat plane, the foundation of tent pegs and paddle blades. One continuous stroke, no chatter.
- 05
Round tenon. A cylindrical peg carved down from square. The hardest control test on the stick.
- 06
Dovetail. An angled undercut that locks two pieces together. Precision over strength.
- 07
Through-hole. Drilled or bored with the tip, working from both sides so the exit face does not blow out.
Details most people get wrong
Practice notes
- Sharp knife, always — dull blades slip and slipping is how people get cut
- Cut away from your femoral artery; never carve with the stick between your knees
- Ten minutes a night beats one long session
- Keep the finished stick; it is a reference and a reminder
Common questions
Which knife? A 90-100 mm Scandi-grind fixed blade. Scandi bevels are easy to sharpen in the field and bite cleanly into wood. A small dedicated carving knife makes the finer notches much easier.
How long does one take? Two hours the first time, forty minutes once the cuts are familiar.
Buy once, carve for decades
This is a skill you can start tonight with almost nothing. A good Scandi knife and a proper carving knife between them cost less than a weekend of takeaways, sharpen easily, and will still be working in twenty years. Owning tools you can maintain yourself is the quiet foundation of every other skill on this site.
Gear you need for this hack
Everything below does the job in this guide. Improvise where you can — buy where it matters.
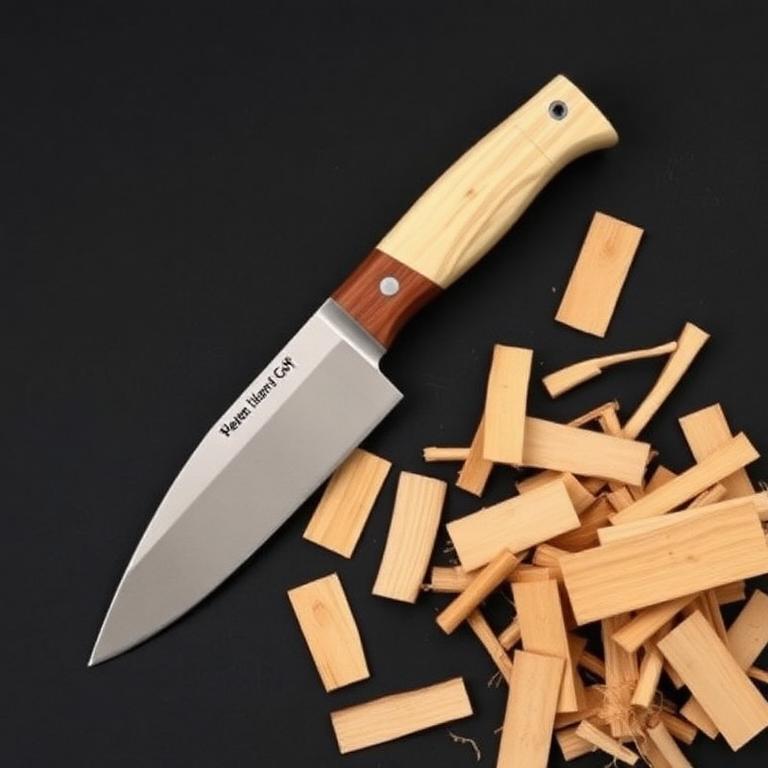
Morakniv Wood Carving 120
Morakniv
Short laminated blade made for controlled cuts.
Short laminated blade made for controlled carving cuts and try-sticks.
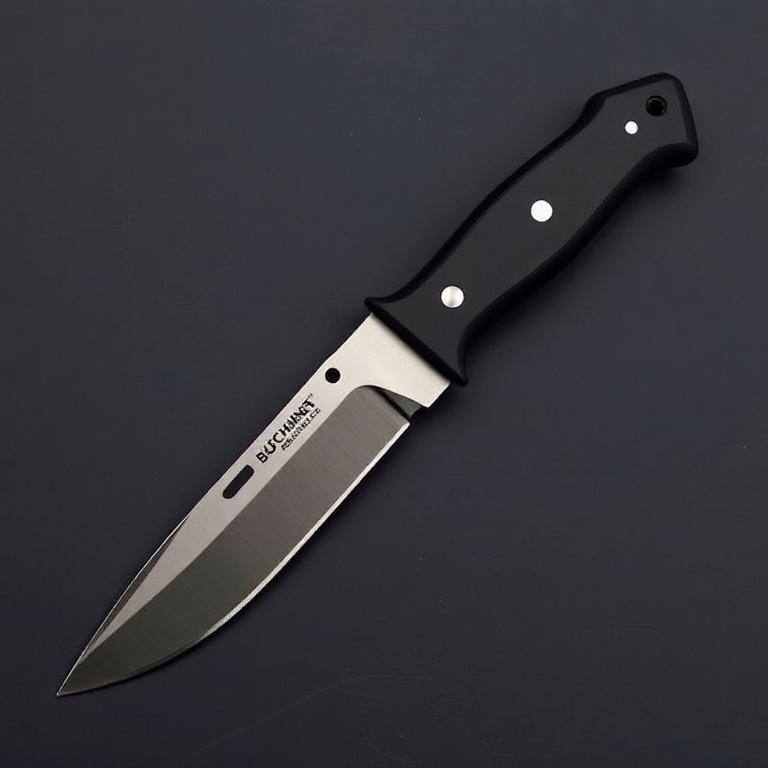
Morakniv Companion Heavy Duty
Morakniv
The all-round bushcraft knife to learn on.
The default bushcraft knife: Scandi grind, carbon steel, honest price. Check your local knife laws.
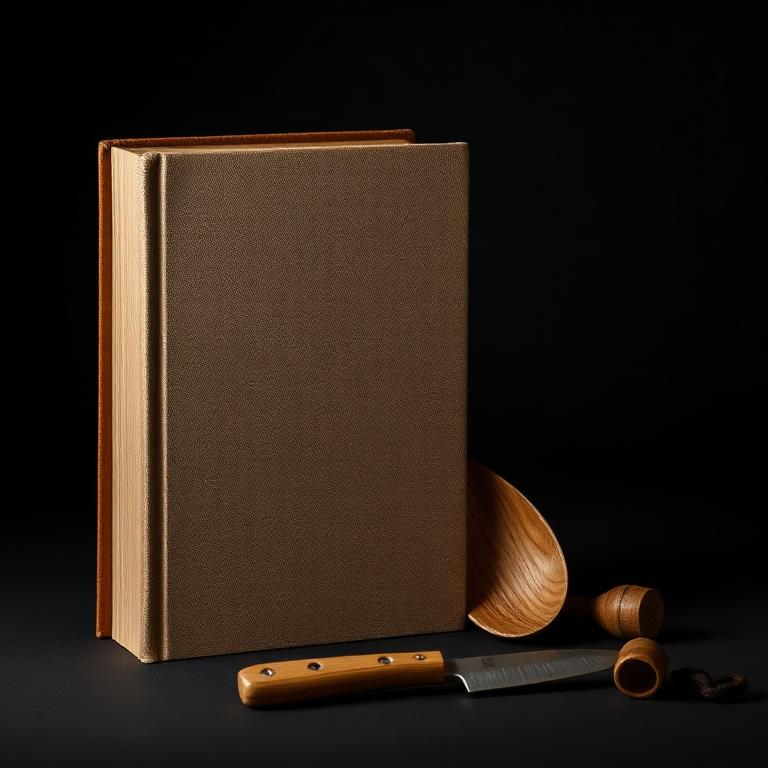
Bushcraft 101
Dave Canterbury
The skills behind the cuts.
The 5 Cs framework and the skills behind them. The best single starting book.
Some links are affiliate links. If you buy through them we earn a small commission at no extra cost to you — it pays for testing gear, not for good reviews.